Pulling Backward: A Rear Winch for the Granite Grand
The 6 Monkeys rear mounting system, Carbon Off-Road 12K, gearbox re-clocking, fairlead positioning and battery wiring that gave our WK2 a second recovery direction.
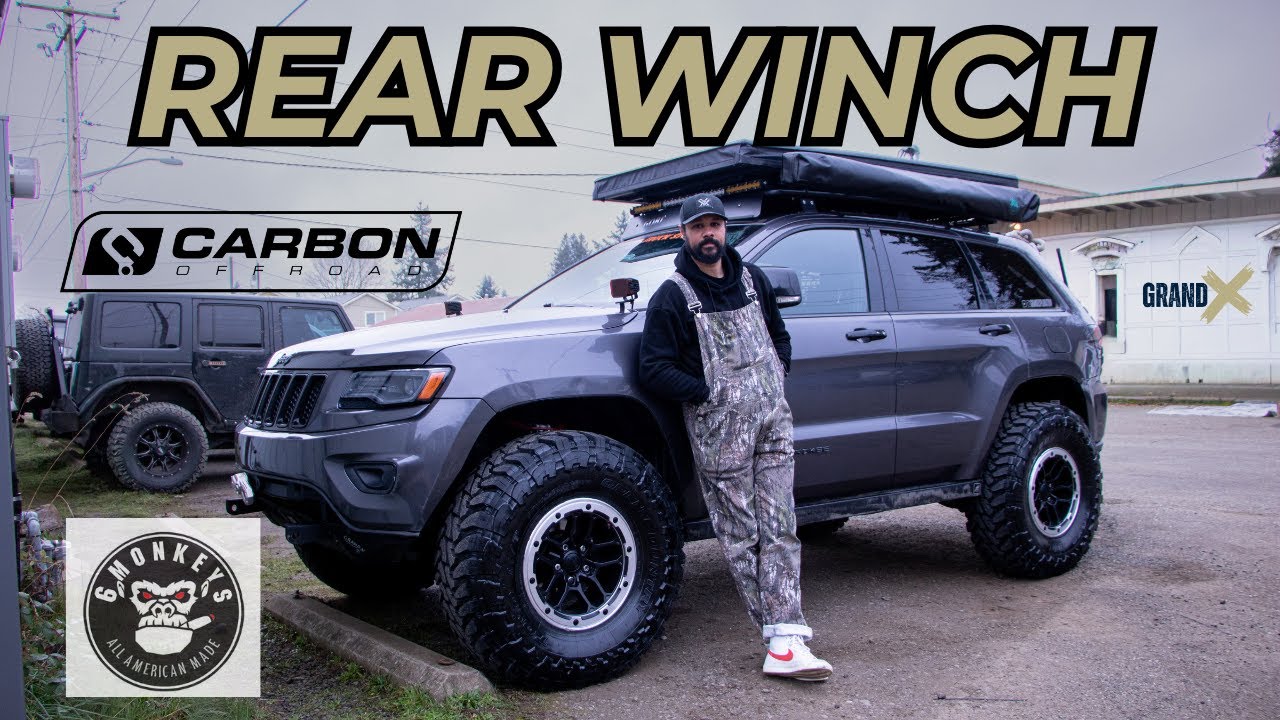
There is a particular kind of trail problem where a front winch isn’t much help. You’ve gone as far forward as you want to go. The obstacle ahead has won. Turning a lifted Grand Cherokee around isn’t an option. The smart way out is the direction you came from.
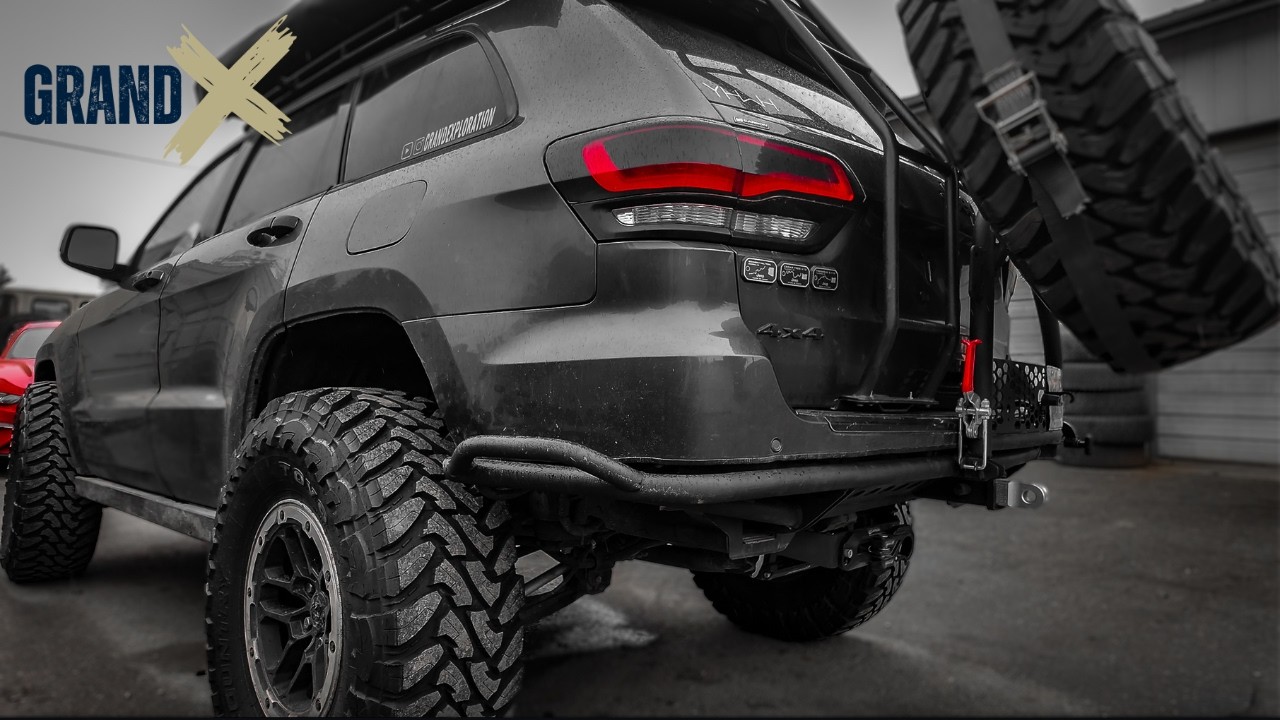
That was the missing piece on the Granite Grand. The 37-inch-tire WK2 already had the equipment to keep moving forward. What it needed was a way to recover backward, without dragging a bulky winch assembly off the rear bumper.
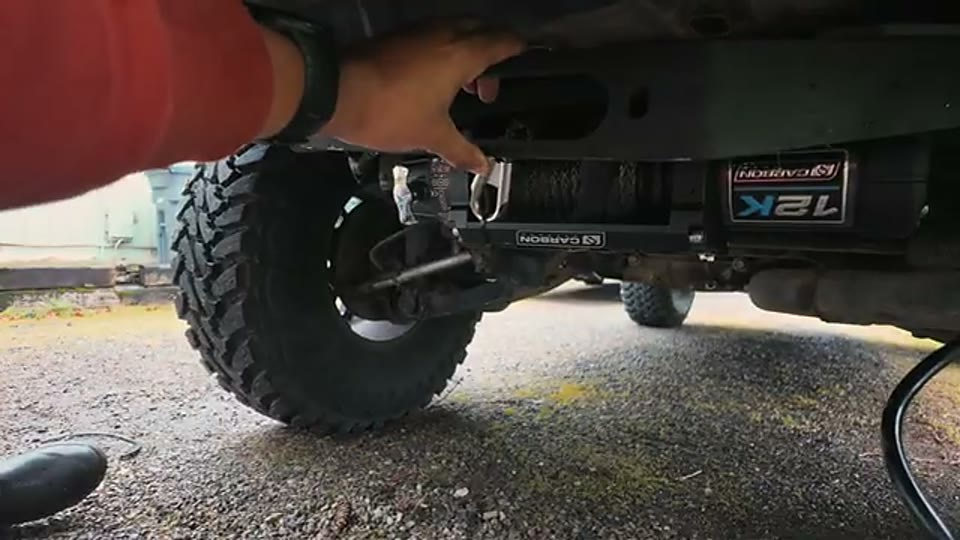
Daniel at 6 Monkeys Off-Road had built a rear mount that uses the Grand Cherokee’s factory hitch structure. Carbon Off-Road supplied a 12,000-pound winch for the project. Both supported the build. The goal was to get the winch protected beneath the Jeep, accessible from behind, and connected to the factory under-seat battery without turning the cargo area into a wiring disaster.
The mount: six factory bolts, no bumper winch tray
The 6 Monkeys mount comes as a winch plate, two side brackets, and the mounting hardware. The side brackets tie into the existing trailer-hitch attachment points, with three factory bolts on each side. On our Jeep, those bolts took a 21 mm socket, with extensions and a swivel helping reach the awkward ones.
The important part is not just which holes the bolts go through. It’s which way the side brackets face. We oriented the mounting positions so the entire assembly could sit as far forward under the body as possible. Set it too far rearward and the fairlead interferes with the hitch instead of getting a clear run for the rope.
Daniel recommended bolting the winch to the plate before trying to mount the assembly to the vehicle. That’s how we did it. The Carbon 12K and plate went together on the ground. A floor jack lifted the heavy assembly into the two waiting side brackets while Jon lined up the hardware.
If you’re working alone, this is the job where another set of hands is worth more than a fancy tool. The whole thing is heavy, awkwardly balanced, and much easier to control from a jack than from underneath the bumper.
Clock the gearbox before the winch goes up
With this mounting system the winch hangs upside down. Left in its standard orientation, the free-spool clutch would face down into the space that rocks and obstacles occupy. The clutch is something you need to reach, not the part of the winch you want to sacrifice first.
We separated the gearbox housing and rotated its orientation, keeping track of the fasteners and internal shaft engagement. The shaft took a little work to seat correctly again. Jon describes pulling the shaft from the lower half, engaging it with the gearbox, and guiding it into position before closing the housing.
One gasket tore in the process. We used Ultra Black RTV to repair that sealing surface before reassembly. That is a record of the repair we made, not a substitute for checking the seal and procedure for your own winch.
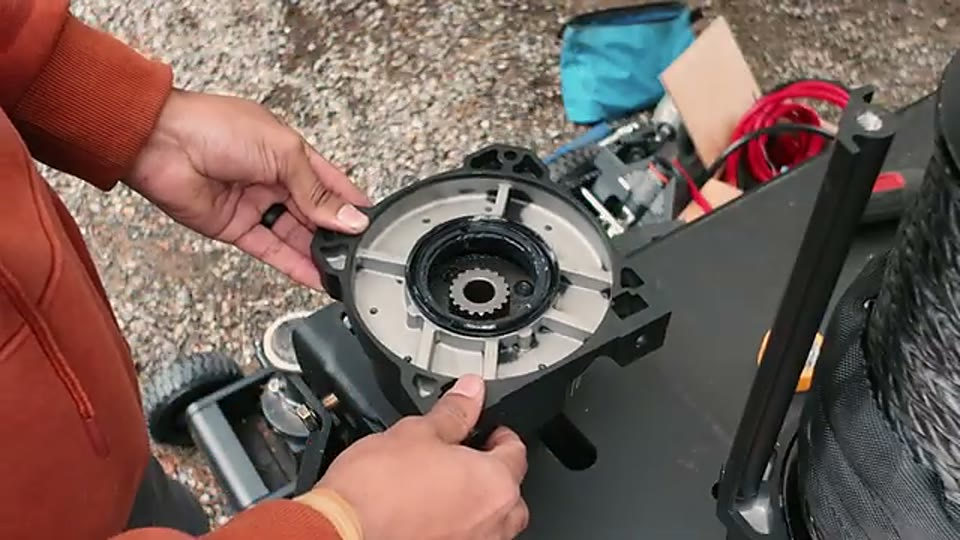
The winch then bolts to the mounting plate using the sliding captive nuts in the winch base. That detail is easy to miss when you first lay everything out: the nuts need to be in the channel before you offer the winch up to the plate. We used a 16 mm socket on the mounting fasteners.
The fairlead has two heights for a reason
At the time of this installation, the Jeep still had a cut-down stock rear fascia. The later full 6 Monkeys high-clearance bumper wasn’t on it yet.
The supplied fairlead bracket has two mounting orientations. The higher position works with the tubular bumper’s extra clearance. We used the lower position because the remaining stock fascia and hitch geometry needed the rope to exit slightly lower.
Even that lower setting kept the assembly close to the Jeep. The fairlead wasn’t hanging from a hitch receiver and wasn’t the first thing to scrape on every departure.
Before installing the fairlead, we pulled a little synthetic line off the drum with the clutch released so it could be fed through the opening. It is much less entertaining to discover you forgot that step after everything is tightened.
Why we ran power inside the Jeep
The WK2 battery lives under the front passenger seat. Instead of running all the way into the engine bay, we decided to bring the rear winch cables into the cargo area and run the high-current supply forward inside the vehicle.
The rear cargo deck and storage bin came up to expose an existing floor grommet. We used the existing opening for the power and control cables, added protection where the wires passed through the body, and sealed the penetration after the wiring was in place. The kit’s control leads reached the winch from a temporary position in the cargo compartment, but the battery cables needed extending.
When the first round of assembly ended, the control box was still temporarily sitting in the rear cargo area. We hadn’t settled the final location. That detail matters because a clean permanent installation needs to consider where the box can be reached, how the leads are supported, and how everything stays dry.
We finished the forward power run at Mike’s place, with the front passenger seat lifted to expose the battery. The extension was described during the hookup as approximately 4-gauge cable. We also installed a power switch so the rear winch would not need to remain energized between uses.
The electrical decision worth copying is the route, not an unverified cable size. High-current winch cables must be sized for actual length, load, voltage drop, and protection. We ran to the under-seat battery and used an existing body pass-through; check the winch manufacturer’s wiring requirements before selecting a cable.
What we ended up with
With the wiring connected, the wired remote operated the winch. The wireless remote paired after the switch was activated and the pairing buttons were held until the indicator blinked. Basic in-and-out operation worked from both controls.
We didn’t claim a laboratory 12,000-pound pull from a driveway test. We now had a mounted rear winch, working controls, and a recovery direction the Granite Grand previously lacked.
The packaging mattered just as much as the pull rating. The next change to this end of the Jeep was the 6 Monkeys high-clearance rear bumper, and the winch had to remain compatible with it. Doing the mount and wiring properly made that later upgrade possible without starting over.
If you’re planning the same installation
- Decide on the bumper before choosing the fairlead height. A trimmed stock rear fascia and a 6 Monkeys tubular bumper don’t have the same clearance.
- Clock the clutch housing before lifting the winch into place. Otherwise the lever faces the obstacles you’re trying to drive over.
- Fit the sliding nuts before bolting the winch onto the plate. Work on the ground, then lift the complete assembly.
- Plan the cargo-floor grommet and power run before final fairlead installation. It is the last point with comfortable access to the wiring.
- Treat the control-box location as part of the installation. Ours was temporary during the initial fit and needs the same weather protection and cable management as the rest of the circuit.
The film below shows the awkward access, actual gearbox movement, and final hookup. These are the dimensions and decisions we’d want to know before crawling under another WK2.